how-to
Diesel Engine Repair for Waste Trucks: A Step-by-Step Guide
Table of Contents
- Understanding Diesel Engine Repair for Waste Trucks
- Reading Diesel Engine Fault Codes for Trucks
- Diagnosing Diesel Engine Losing Power Causes
- Waste Truck Preventive Maintenance Schedule
- Diesel Engine Repair vs. Rebuild: Making the Right Decision
- Step-by-Step Troubleshooting Workflow
- Post-Repair Testing and Fleet Uptime Recovery
- Common Mistakes to Avoid During Diesel Engine Repair
- Frequently Asked Questions
Last Updated: October 18, 2026
Understanding Diesel Engine Repair for Waste Trucks
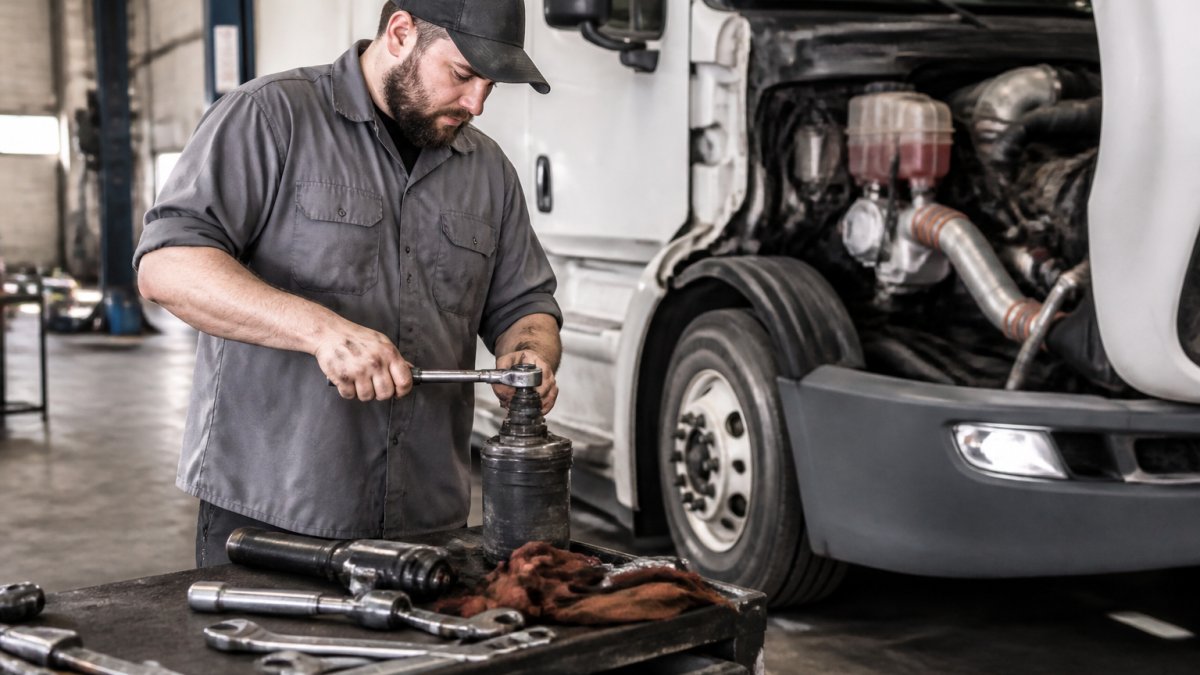
Diesel engine repair for waste trucks demands specialized knowledge: stop-and-go cycles, heavy loads, and extended idling create stresses standard shops miss.
Waste trucks need different repair approaches than standard commercial vehicles: the compactor, hydraulics, and engine all work harder, so dry-van strategies often fail here.
This guide covers diesel engine repair for waste trucks step by step: reading fault codes, diagnosing power loss, and deciding between repair and rebuild.
Reading Diesel Engine Fault Codes for Trucks
Diesel engine fault codes tell you what the engine's computer detected, not what caused the problem.
A code flags a sensor reading outside expected parameters. P0087 means "fuel pressure too low," but can stem from a failing pump, clogged filter, leaking injector, or faulty sensor.
Connect a quality scanner to the OBD-II port and record every code, active and historical.
Common diesel fault codes in waste trucks include:
- P0087 - Fuel pressure too low
- P0088 - Fuel pressure too high
- P0100 - Mass airflow sensor malfunction
- P0234 - Turbocharger underboost
- P0401 - Exhaust gas recirculation flow insufficient
- P0450 - Diesel particulate filter pressure sensor fault
- P0456 - EVAP system leak detected (small)
Each code narrows the diagnostic field but doesn't pinpoint the cause. That's where systematic testing begins.
Diagnosing Diesel Engine Losing Power Causes
A waste truck losing power mid-route pressures shops toward replacing parts instead of diagnosing properly.
Diesel engine losing power typically falls into three categories: fuel delivery problems, air intake restrictions, or emissions backpressure. Identifying which one saves time and money.
Fuel System Issues
Fuel system problems account for roughly half of waste truck power-loss cases.
Start with fuel pressure testing. Most diesel engines require 45-65 PSI at idle and 65-85 PSI under load.
If pressure stays below specification at idle, the lift pump is likely failing or the fuel filter is severely clogged.
Fuel filter condition matters more in waste trucks than highway haulers: frequent idling lets water accumulate and clog filters faster.
Turbocharger and Air Intake Problems
Turbochargers multiply power by forcing more air into cylinders; when turbo performance drops, power loss follows.
Test boost pressure with a gauge on the intake manifold. Most waste truck engines produce 15-25 PSI at full throttle. Below 10 PSI means the turbocharger is underperforming.
Underboost can result from:
- Compressor wheel damage from foreign object ingestion
- Turbine wheel erosion from hot exhaust gases
- Internal seal failure allowing boost to leak internally
- Waste gate stuck open, venting boost pressure prematurely
- Intake air leak between turbo and engine
Inspect the intake for loose hoses, cracked tubing, or disconnected clamps. A single loose clamp after the turbocharger can cut boost by 5 PSI. Tighten all connections and retest.
If boost stays low after sealing the intake, the turbocharger needs inspection or replacement.
Emissions System Faults
Modern waste trucks carry complex emissions equipment: diesel particulate filters (DPF), selective catalytic reduction (SCR) systems, and exhaust gas recirculation (EGR) valves.
DPF regeneration occurs automatically during highway driving when exhaust temperatures exceed 1,000°F.
Check the DPF differential pressure sensor reading. Most systems flag a fault code when backpressure exceeds 8-10 inches of water column.
SCR faults also cause power loss.
Check DEF level and quality. DEF degrades if stored above 86°F or if contaminated with water. Replace DEF if it appears cloudy or discolored.
Waste Truck Preventive Maintenance Schedule
Preventive maintenance keeps waste trucks running and reduces emergency repairs by catching problems before they strand vehicles.
Set maintenance intervals by operating hours, not calendar time. Waste trucks often accumulate 2,000-3,000 operating hours annually, roughly double typical highway mileage rates.
Follow this maintenance schedule:
Every 250 operating hours:
- Change engine oil and filter
- Inspect air filter condition
- Check fuel filter for water contamination
- Verify all fluid levels
Every 500 operating hours:
- Inspect turbocharger hoses and clamps
- Check exhaust system for leaks or damage
- Test battery voltage and connections
- Inspect brake fluid condition
Every 1,000 operating hours:
- Replace air filter if needed
- Clean or replace fuel filter
- Inspect injectors for carbon buildup
- Check coolant condition and concentration
- Test alternator output
Every 2,000 operating hours:
- Perform complete fluid analysis
- Inspect turbocharger for boost performance
- Clean DPF if backpressure approaches limits
- Replace DEF and check SCR function
- Inspect all hoses and belts for wear
Every 4,000 operating hours:
- Complete engine diagnostics with scanner
- Inspect fuel injection system
- Test cooling system pressure
- Evaluate turbocharger condition
- Plan major maintenance or rebuild timeline
Waste trucks in dusty environments should follow these intervals more aggressively. Dust accelerates filter clogging and turbo wear, so reduce all intervals by 20% in construction zones or unpaved collection areas.
Diesel Engine Repair vs. Rebuild: Making the Right Decision
Every heavy-duty diesel eventually faces a choice: repair or rebuild. The decision depends on failure severity, remaining useful life, and operating economics.
Choose repair when:
- Failure is isolated to one system (fuel, turbo, or emissions)
- Engine has fewer than 500,000 miles
- Repair cost is less than 40% of rebuild cost
- The vehicle will remain in service for at least 2 more years
- No catastrophic internal damage is present
Choose rebuild when:
- Multiple systems are failing simultaneously
- Engine shows signs of internal wear (metal in oil, low compression)
- Repair costs exceed 50% of rebuild cost
- The vehicle will remain in service for 5+ more years
- Core engine components show fatigue
A rebuild replaces or reconditions all internal components: pistons, rings, bearings, gaskets, and seals.
Repair addresses specific failed components without disturbing the rest of the engine.
Calculate total cost of ownership. If the truck will run another 5 years, rebuild economics often favor rebuilding; if it retires in 2 years, repair makes sense.
Step-by-Step Troubleshooting Workflow
A systematic troubleshooting approach prevents wasted time and unnecessary parts replacement. Follow this workflow every time.
Step 1: Connect Diagnostic Scanner and Document Codes
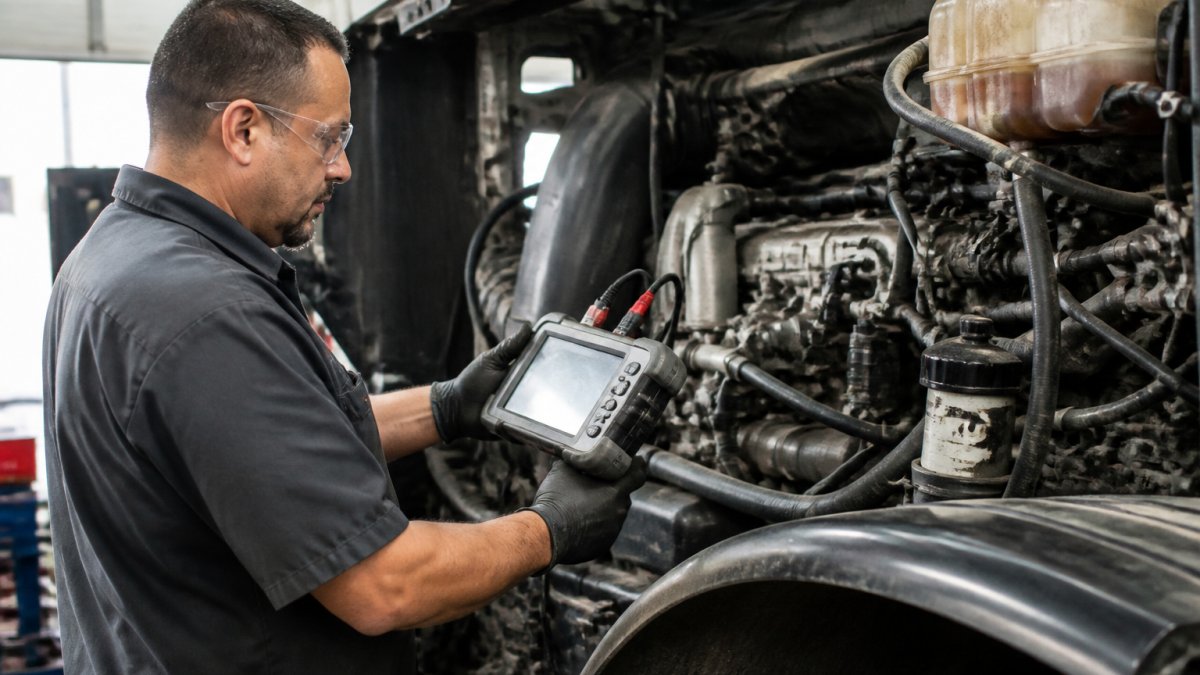
Connect your scanner to the OBD-II port below the steering column and let it communicate with the engine control module. Record all active and historical codes plus freeze frame data (engine speed, load, temperature at the fault).
Freeze frame data is critical: a fuel pressure code at idle suggests a different problem than the same code at full throttle.
Photograph the scanner screen showing all codes; this protects you if the customer disputes the diagnosis later.
Step 2: Perform Visual Inspection
Before testing, inspect the engine visually for loose hoses, disconnected wires, cracked tubing, or obvious leaks.
Check the air intake from filter to turbocharger; a single loose clamp can cause multiple sensor faults.
Check the DEF system for leaks around the pump, heater, or injector, and verify the tank cap is sealed. A loose cap allows water entry, contaminating the DEF.
Examine wiring harnesses for corrosion, chafing, or loose connectors; corroded connectors commonly cause sensor faults that disappear after cleaning.
Step 3: Test Fuel Pressure and Injection Timing
Connect a fuel pressure gauge to the fuel rail test port. Record idle and full-throttle pressure and compare to manufacturer specifications.
If pressure is low, test the lift pump: disconnect the fuel line downstream and observe flow into a container.
If pressure is high, the fuel pressure regulator is likely stuck.
Test injection timing with a timing light on the injection pump. Late timing reduces power and increases emissions; early timing can cause engine knock.
Step 4: Verify Turbocharger Boost and Exhaust Backpressure
Connect a boost gauge to the intake manifold, rev to full throttle, and compare boost pressure to engine specifications.
Connect a backpressure gauge upstream of the turbocharger. At full throttle, backpressure should stay below 10 inches of water column; higher indicates exhaust restriction (plugged DPF, clogged muffler, or internal turbo damage).
Low boost with high backpressure points to a damaged turbine wheel or stuck waste gate. Low boost with normal backpressure points to a damaged compressor wheel.
Step 5: Check Emissions Aftertreatment Components
Inspect the DPF differential pressure sensor reading. High readings indicate clogging; above 8 inches of water column, the DPF requires cleaning or replacement.
Verify the SCR system has adequate DEF. If it appears cloudy or discolored, drain and replace it.
Test the EGR valve if equipped. It should open and close smoothly; carbon buildup can make it stick open, reducing combustion temperature and increasing emissions.
Post-Repair Testing and Fleet Uptime Recovery
After repairs, verify the fix actually resolved the problem. Don't just clear the fault code and send the truck back on the road.
Run the engine at idle for 5 minutes and watch for new fault codes.
Test drive under load.
Clear all fault codes after confirming success, then retest after 50 miles. If codes reappear, the root cause wasn't fully addressed.
Document all repairs, parts replaced, and test results in the vehicle maintenance file.
Fleet uptime depends on quick diagnosis and accurate repair.
Common Mistakes to Avoid During Diesel Engine Repair
Fleet managers and shop owners make predictable errors when repairing diesel engines. Awareness prevents costly missteps.
Mistake 1: Replacing parts before diagnosing. A loose hose clamp costs $2; a new fuel injector costs $400.
Mistake 2: Ignoring fault code patterns. A single code can have multiple causes, but related codes point to a specific problem.
Mistake 5: Skipping post-repair verification. A repair that passes a quick visual check may fail under load.
Diesel engine repair for waste trucks demands systematic diagnosis and specialized knowledge.
| Troubleshooting Step | Key Measurement | Normal Range | Action if Out of Range |
|---|---|---|---|
| Fuel pressure test | PSI at idle and load | 45-65 PSI idle / 65-85 PSI load | Replace fuel pump or clean filter |
| Turbo boost pressure | PSI at full throttle | 15-25 PSI | Inspect turbo or waste gate |
| Exhaust backpressure | Inches of water column | Below 10 at full throttle | Clean or replace DPF |
| DPF differential pressure | Sensor reading | Below 8 inches | Regenerate or replace filter |
| DEF quality | Visual inspection | Clear, colorless liquid | Drain and replace DEF |
Frequently Asked Questions
What are the most common diesel engine problems in waste trucks?
Waste trucks face unique duty-cycle demands due to frequent idling, stop-and-go operation, and high engine load during compaction cycles. Common problems include diesel particulate filter clogging, selective catalytic reduction system faults, fuel injector wear from contaminated fuel, turbocharger boost loss, and hard starting in cold weather. Preventive maintenance and regular filter replacement reduce these failures significantly.
How do you diagnose a diesel engine that is losing power?
Connect a diagnostic scanner to read fault codes first. Then check fuel pressure (should meet OEM specs), inspect the air filter and turbocharger boost levels, and verify exhaust backpressure is not excessive. Test diesel exhaust fluid (DEF) system function and confirm the diesel particulate filter is not severely restricted. A qualified specialist can also perform a load test under operating conditions to isolate the failure point.
When should a waste truck diesel engine be repaired versus rebuilt?
Repair localized faults (fuel system, turbocharger, emissions components, gasket leaks) if the engine has reasonable operating hours and no internal damage. Rebuild when compression is low, there is metal in the oil, internal bearing wear is confirmed, or the repair cost exceeds 60-70% of a remanufactured engine. For waste trucks running 24/7, a rebuild minimizes downtime risk and extends service life predictably.
How often should waste truck diesel engines be serviced?
Waste trucks typically require oil changes every 15,000-25,000 miles or per OEM intervals, fuel filter replacement every 10,000-15,000 miles, and air filter inspection every 5,000 miles. DEF system and emissions aftertreatment checks should occur every 25,000 miles. Preventive maintenance intervals depend on duty cycle intensity; stop-and-go waste collection demands more frequent service than highway hauling.